Today we are going to dig into the specifics of what swirl marks are, how they are caused, and the exact steps to prevent, and remove them. As a car owner, there are various circumstances, environmental conditions, and product application processes that can leave marks on the surface of a car. These often lead to frustration as when it comes to removal sometimes it’s just not that easy.
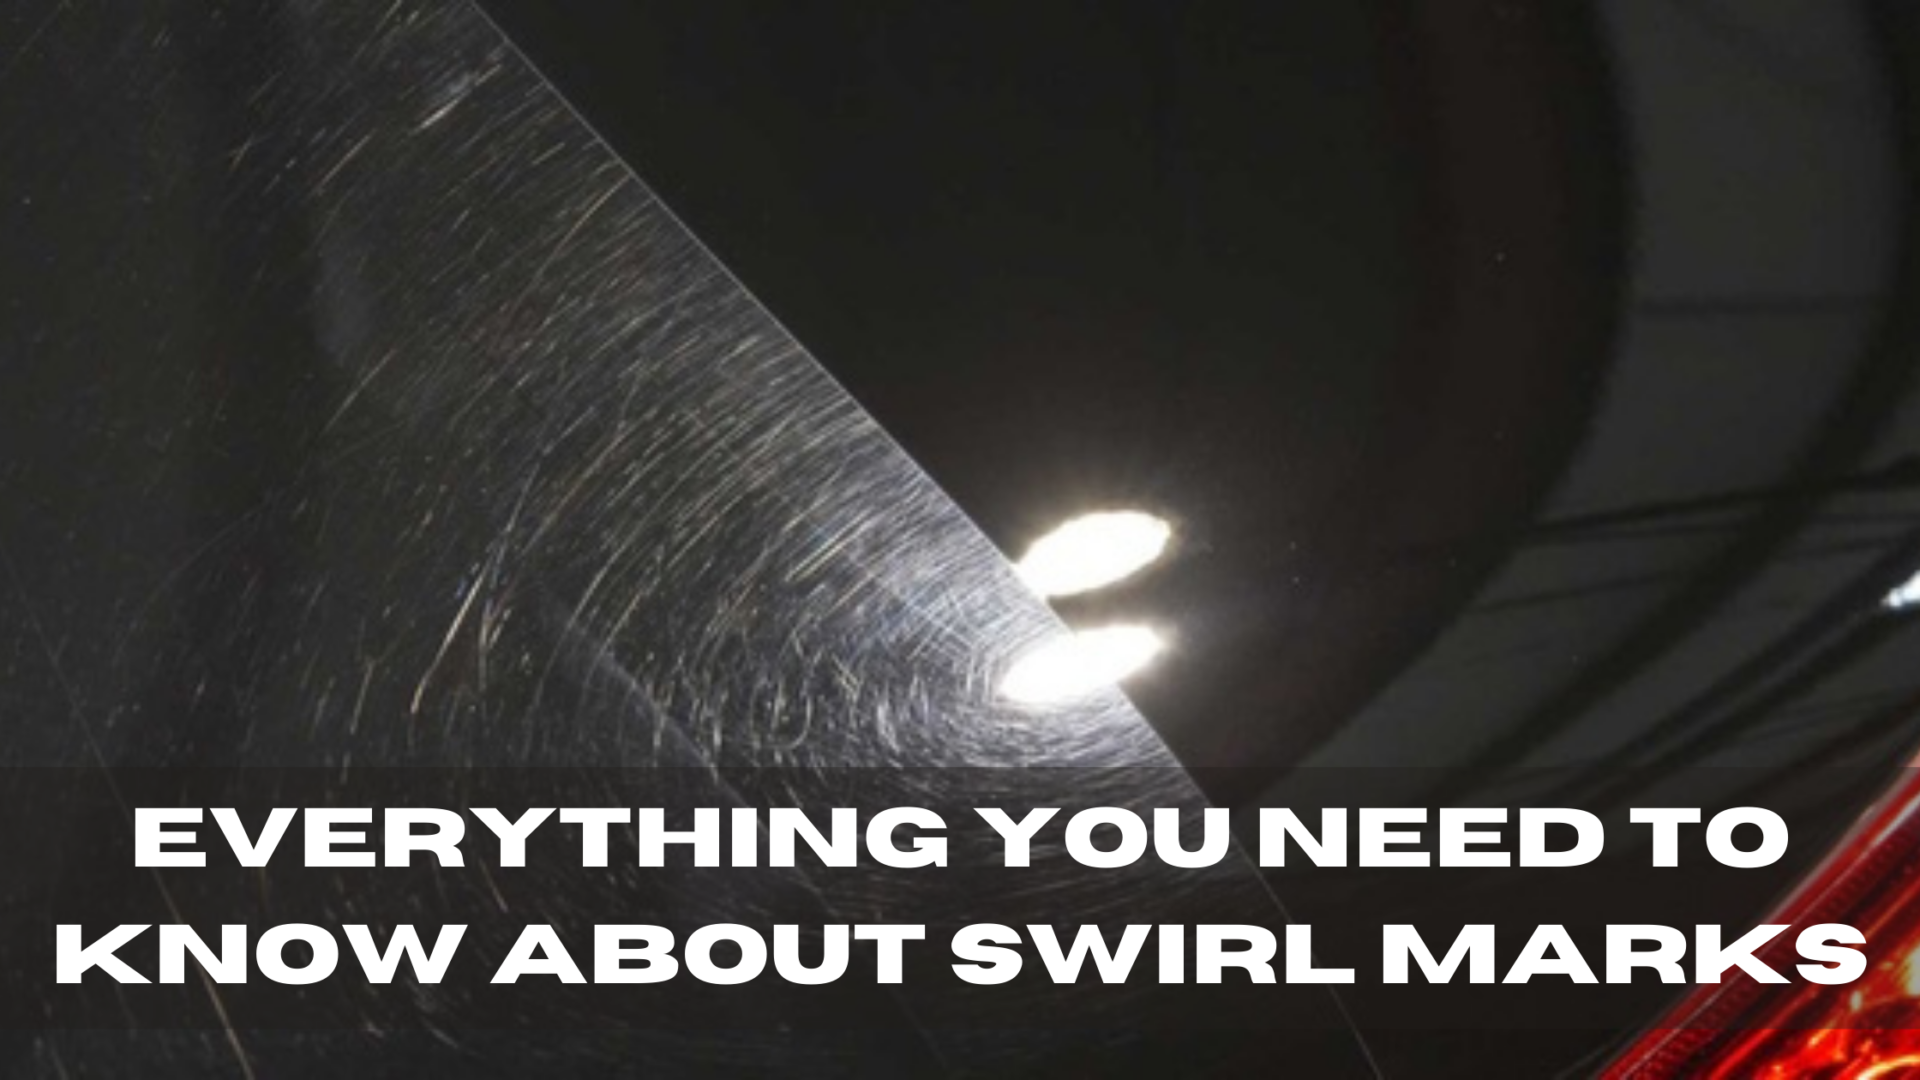
Swirl marks are defined as micro-scratches that are revealed when the surface is exposed to light. They were given this label and defined this way due to their circular pattern that can be seen when the car paint is exposed to direct sunlight.
This exposure reveals every micro-scratch that has been inflicted on the surface. People often think that this circular pattern created by wiping or applying wax in a circular motion is what causes said marks, but this is incorrect. These marks and scratches that are on the surface mimic the light source, hence when the car is outside the light source that is mimicked is the sun, hence the circular pattern.

The micro-scratches that we can see in the clear coat/ car paint are actually relatively straightforward, however, each scratch obviously is diverse in length and width. Said scratches and marks are titled swirl marks when the following two things come together: the paint surface covered with micro-scratches, and a light source circular in shape.
Fun fact, it’s specifically black/dark vehicles that show the most swirl marks as bright colored vehicles do not show swirl marks as much as they reflect more light.
These marks are simply super fine scratches inflicted on a painted surface by the use of incorrect tools being used to clean the exterior, or by wiping the exterior with a dry towel (and therefore rubbing in contaminants into the surface i.e dust), improper washing and drying techniques.
That being said, that’s exactly how to avoid swirl marks as well. Simply making sure you use the correct tools, in an efficient and proper manner to clean and dry the exterior is exactly how to prevent micro-scratches.
First of all, there is some confusion about how to remove swirl marks. At no point in time can you use wax to remove them or cause them (unless improper use of tools). Although waxes are used for protection and visual enhancement by “filling in” micro-imperfections, they do not remove swirl marks. They do, however, assist in concealing or covering up these micro-scratches temporarily.
Here’s where polishing comes in handy. Keep in mind that you’re not technically physically removing the swirl marks but actually removing the surface of the paintwork around them. This evens out the surface making sure that the light reflects in a more uniform fashion rather than in a circular pattern.
So, there you have it. That’s everything you need to know about what swirl marks are, how they are caused, and the exact steps you need to take to remove them!

Watch as water beads off the deck with our super hydrophobic coatings.

Protect the paintwork from UV damage and keep its vibrant colour despite the conditions.

Let the fear of a rough docking be a thing of the past with a 10H coating.

With minimal maintenance, our products are guaranteed to provide protection for years to come.

With our chemical and contaminant resistant coating, the surface is kept clean. Needing only minor occasional maintenance.

Trusted in 70+ countries, Onyx Coating is the top choice for professionals and car owners seeking premium protection.

Our ceramic coatings adhere to the surface making it resistant to corrosion and oxidation and contamination-free.

Bonds tight with the surtace to maintain a uniform cover and protect the surface evenly.